Today was a Good Friday, so I don’t have any work today. I planned this ahead of time by buying a compressed air canister, EVA foam, and denture tablets. The purpose was to clean my keyboard and apply foam to the bottom of the PCB. The foam I bought can be used between the PCB and the plate, but cutting out individual squares for each key seems too much of a hassle for me.
Cleaning my keycaps
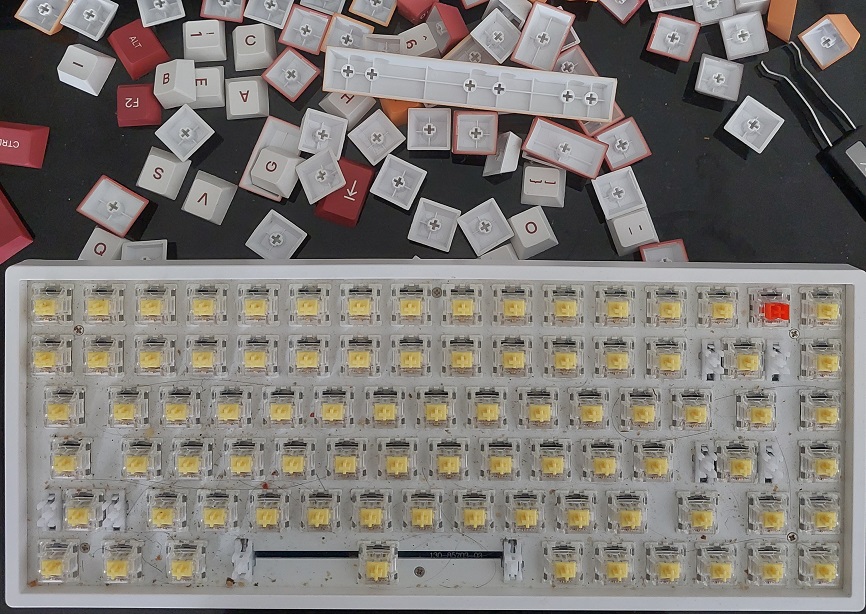 The first step was to pull out all keycaps. I used a wired keycap puller instead of the plastic ones because I don’t want to damage my keycaps. As you can see in the picture above, there are dust, hair, and crumbs all over. There are many methods to clean up all of these, on top of my head you can:
- Turning the board upside down and whacking it (do this first because this helps get rid of crumbs and hair, but some stains will stick. Be careful not to whack too hard and drop your keyboard in the process.)
- Use a vacuum cleaner/air blower (don’t have one at hand)
- Use compressed air
- Use a used toothbrush (my method)
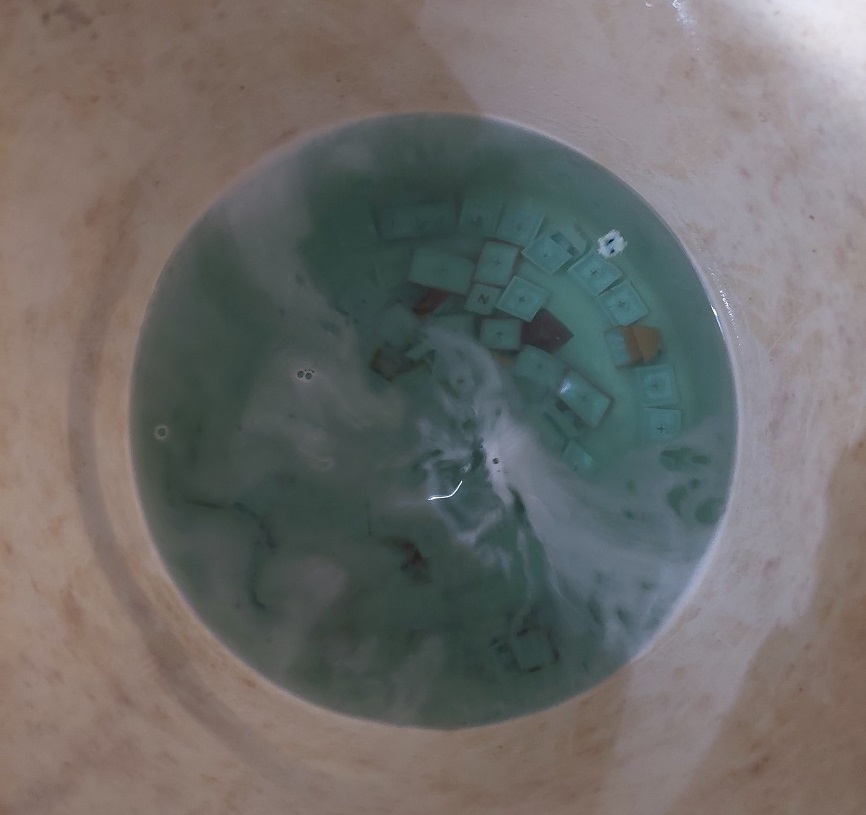
After removing all of my keycaps, I soaked them in warm water, added two Polident dental tablets, shuffle them around, and left them be for 45 minutes. No, that is not a lavatory, I used an old white bucket because there are no other containers that I can use.
Foaming my keyboard
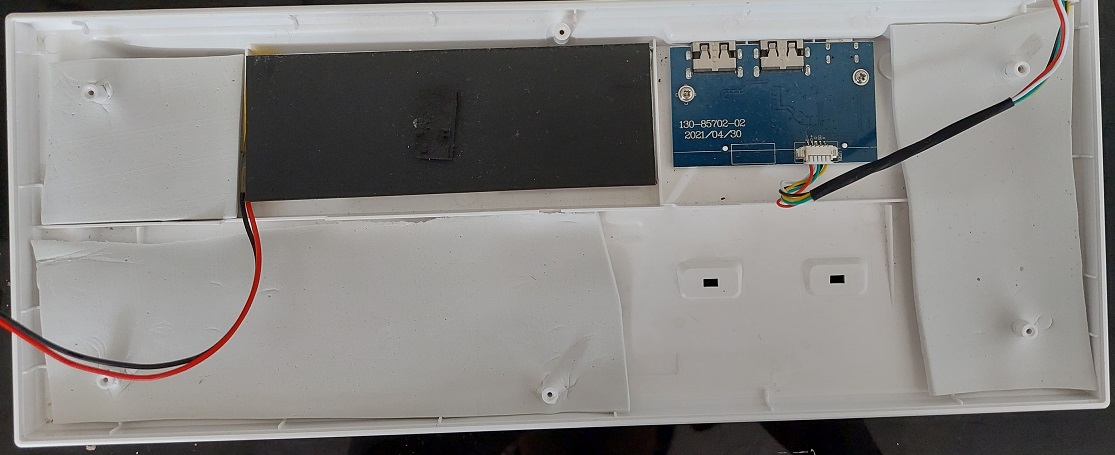
While I wait for the dental tablets to do their magic, I wanted to add foam to the base of the keyboard. To get to the bottom of my keyboard (Rover84, but basically a Royal Kludge 84 / Rexus DAXA 84), I only needed to remove six screws. The switches can stay on while the plate + PCB is lifted. There are two cables that needed to be disconnected, which I did.
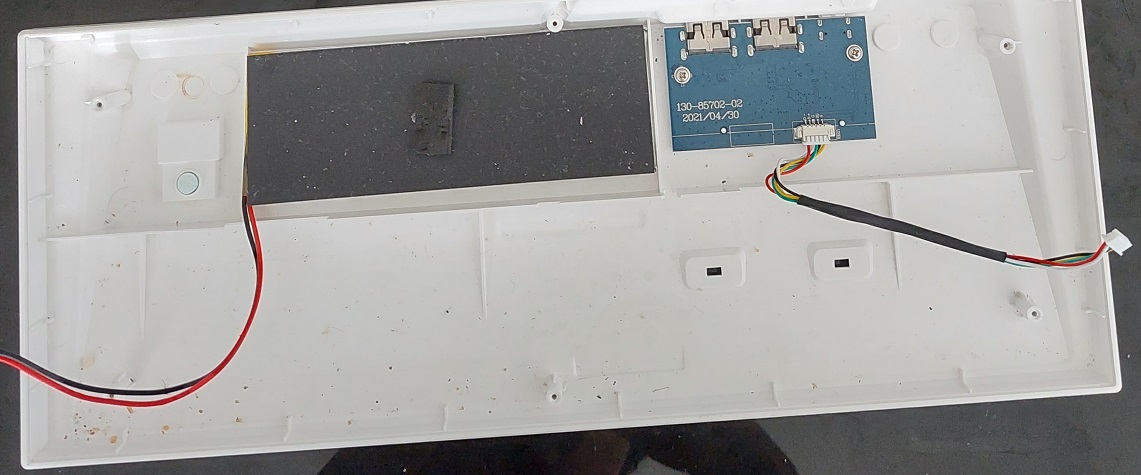
Somehow, there are crumbs on the base of the keyboard. So I simply cleaned it up and then cut up the EVA foam into small segments to fit on my keyboard. This was my first attempt, so it ain’t too fancy. The foam color is also white, so it isn’t really visible in the picture below. In hindsight, I could have cut the foam into 2 squares on the top left and right, and 1 long rectangle spanning the whole bottom part. As for making holes for the screws, I don’t have a cutter in hand to make an X-shaped hole, so I just marked where the screw holes are, and penetrated the foam using my screwdriver.
What next?
There are other mods that I could use. I used this video for possible keyboard modifications. Other mods that I could do is:
- Getting a precut foam from this link. Other sellers offer an acrylic case + plate foam, but I don’t think I want to change my case (yet). Besides, the removal of the battery is very hard for this keyboard, so it sounds like a hassle.
- Applying o-ring mounts on the stand-offs.
- Apply non-conductive adhesive tape to the bottom part of the PCB.
- Clip stabilizer stems, or apply a band-aid mod.
- Lube the stabilizer stems and housings (probably the most important one because my long keys sound bad).
- Lube rows 3-5 of my keyboard switches because my first lubing attempt ended up with me using too much lube for the first 2 rows.